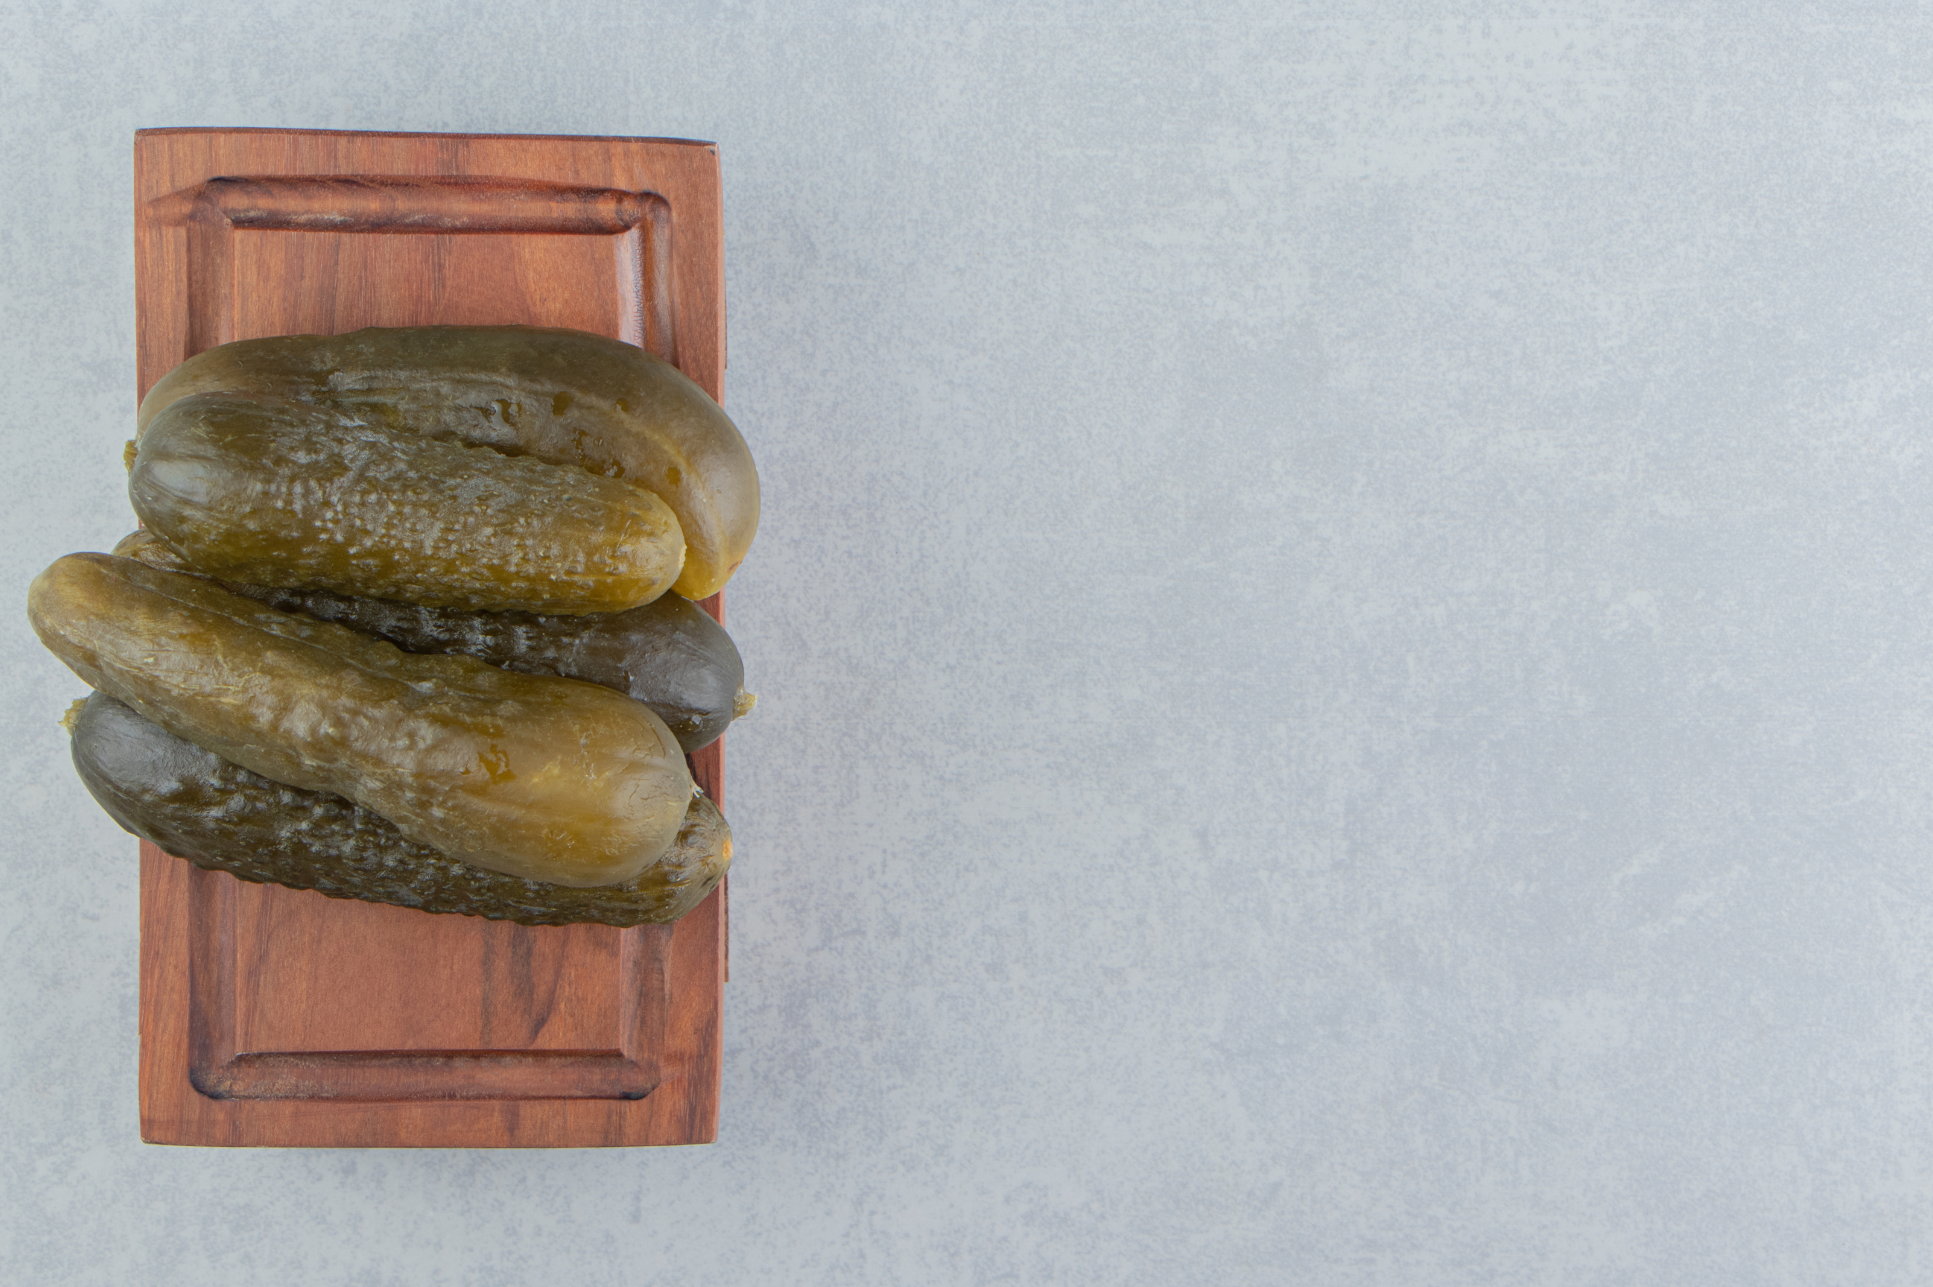
The Essential Steps to Perfecting the Pickling Process
Share
The process of pickling is an age-old method of preserving food by immersing it in a vinegar or brine solution. Not only does pickling help to extend the shelf life of the food, but it also imparts a distinct and tangy flavor. Whether you are a seasoned home cook or a beginner, pickling is a fun and easy way to add some diversity to your culinary repertoire. Here are the essential steps to perfecting the pickling process:
1. Select the right produce: The first step in pickling is choosing the right produce. Some of the most common foods to pickle include cucumbers, onions, peppers, carrots, and green beans. However, you can pickle almost any type of fruit or vegetable, as long as it is fresh and firm. Avoid using produce that is bruised or overripe, as it will not hold up well during the pickling process.
2. Prepare the produce: Once you have selected your produce, it is important to properly wash and slice it. For cucumbers, slice them into thin rounds or spears. For onions, peppers, and carrots, slice them into thin strips or rounds. For green beans, leave them whole or cut them into smaller pieces. It is also a good idea to remove any seeds or tough stems from the produce, as these can add bitterness to the finished product.
3. Make the brine or vinegar solution: The next step is to prepare the brine or vinegar solution that the produce will be pickled in. There are many different recipes for pickling solutions, but the most common ones include vinegar, water, salt, and sugar. The ratio of these ingredients will depend on the type of produce you are pickling and your personal taste preferences. Some recipes also call for the addition of spices such as mustard seeds, and dill to add flavor to the pickles.
4. Sterilize the jars: Before you start the pickling process, it is important to sterilize the jars that you will be using to store the pickles. This helps to prevent the growth of bacteria and ensures that the pickles will stay fresh for a longer period of time. To sterilize the jars, simply wash them in hot, soapy water and then place them in a pot of boiling water for a few minutes. Alternatively, you can also sterilize the jars by placing them in a 200°F oven for about 10 minutes.
5. Pack the jars: Once the jars are sterilized, it is time to pack them with the prepared produce. Place the slices of produce in the jars as tightly as possible, without crushing them. If you are using spices, you can add them to the jars at this stage.
6. Pour in the brine or vinegar solution: Once the jars are packed with produce, it is time to pour in the brine or vinegar solution. Make sure to fill the jars to the top, leaving about 1/4 inch of headspace. This will help to prevent the pickles from floating and ensure that they are fully immersed in the solution.
7. Process the jars: The final step in the pickling process is to process the jars. This involves sealing the jars and boiling them in a water bath for a set amount of time. The length of time will depend on the type of produce you are pickling and the size of the jars. Processing the jars helps to kill any bacteria and ensures that the pickles will stay fresh for a longer period of time.
8. Store the pickles: Once the jars have been processed, allow them to cool to room temperature before storing them in the refrigerator or a cool, dark place. The pickles will be ready